git_tutorial
GitHub Projects
A GitHub project is a Git repository where you can put your project files and keep track of every change you made.
Create a GitHub project
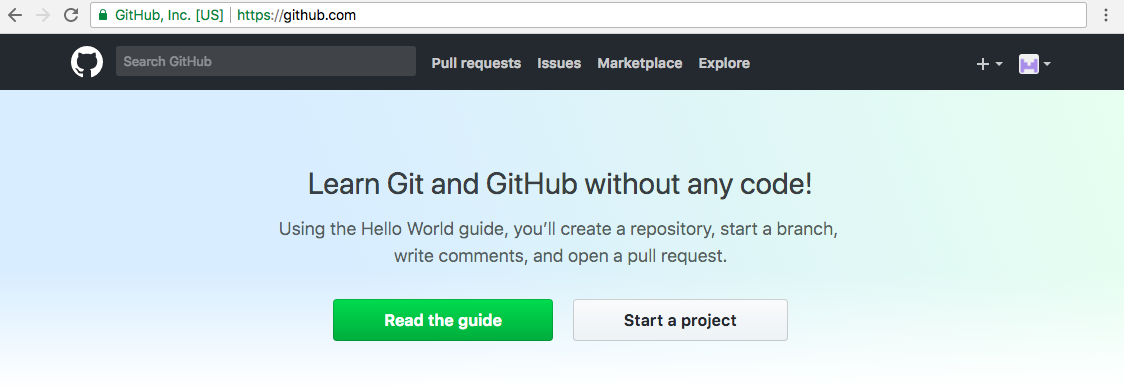
First, login into your account. If it’s your first time creating a project, you receive a Welcome screen with buttons to Read de guide, and to Start a new project.
If you press Start a project, you will be redirected to the Project creation page (https://github.com/new) to create a new repository.
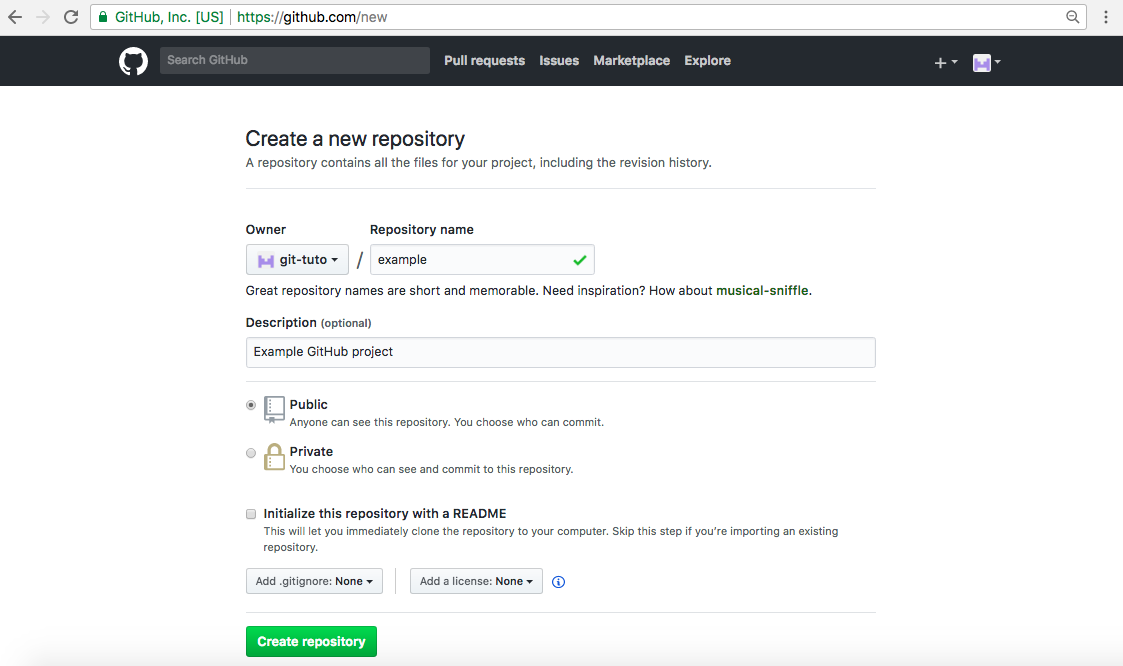
In this page you can input the project information and initial configuration:
-
Name of the repository : A unique name using letters, numbers and hypens (-). Any special character in the name will be converted to hypen (
cool&freshwill becool-fresh). -
Optional description : A long text to explain the purpose of your project.
-
Public or private: By default, your project is public. If you need a private project you need to consider to Upgrade your account (paying $7/month for unlimited private projects)
-
Initialize with README: Your project will start with a file named
README.md, containing content to display when someone open your project page (https://github.com/your-user/your-project). Then, you can modify this file to add some extra information. -
Add .gitignore : This is a special file with rules about which files will be ignored in your project (temporary files, backups, logs, special folders) when you are trying to add new files to the project. It’s not necessary for a simple project, but you can choose a predefined file for specific types of projects (Java, Node, Laravel, etc)
-
Add a License: If you plan to share your project with the community, you need to specify a type of License. For example, you can choose a “MIT” license to be less restrictive. You can get more information about licenses in http://choosealicense.com/
Once you have created the repository, you will be pointed to the project home page (https://github.com/your-user/your-project).
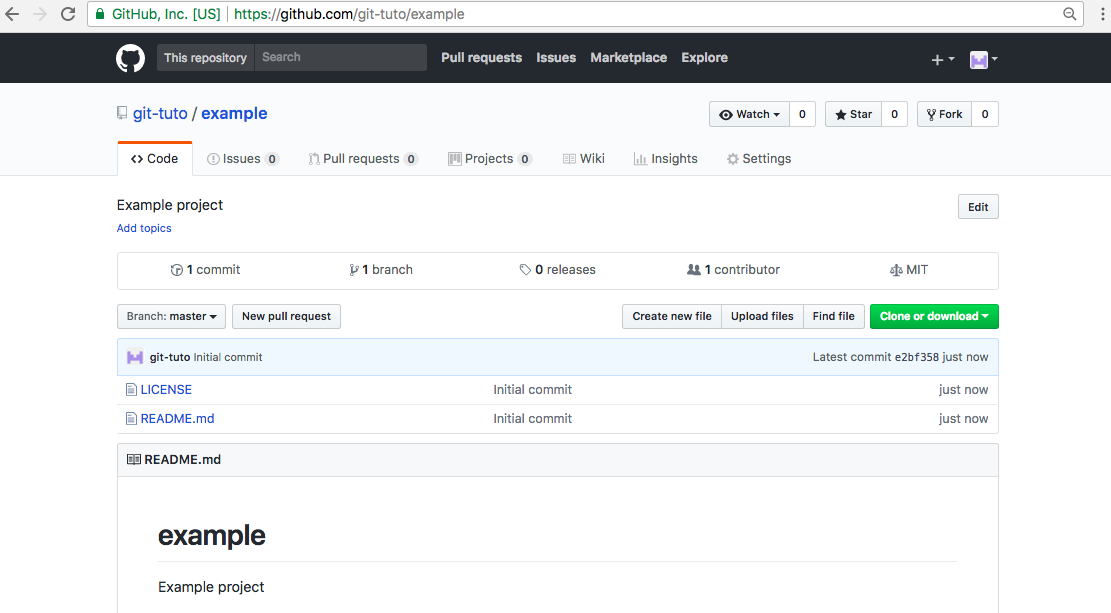
If you have selected to create a README file, a README.md file will appear in your repository. The same if you have selected to add a License (file named LICENSE) or a .gitignore, these files will appear in your repository.
Fork a GitHub project
If you want to start a project based on an external GitHub project, you can Fork It. This operation will create a copy of the original project (current snapshot). Now you can modify this copy of the project.
Then, if you have made significant changes to contribute, you can do a Merge request to send your changes for approval to the original repository owner.
For example, go to the Git Tutorial project (https://github.com/fraigo/git_tutorial) and fork it using the “Fork” button at the top-right corner.
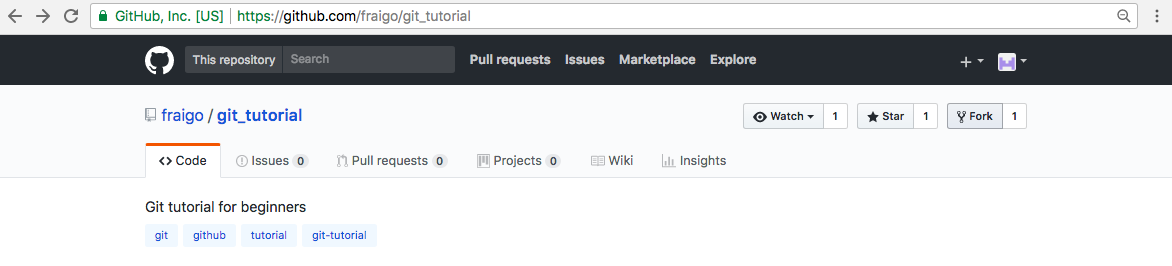
When the fork is completed, you will be pointed to the forked project. Note that the name of the project will be the same, but now is under your user account (fraigo/git_tutorial forked to your-user/git_tutorial).

Configure your GitHub project
Once you are in a GitHub project created by yourself, or a forked project, you can do some basic configurations:
-
Change the project description: Pressing the “Edit” button near the description header of the project.
-
Add or edit topics : Pressing “Add topics” (or “Manage topics” if there are existing topics) under the project description. Topics are relevant tags associated to your project. You can add some topics to tell the users what topics are covered in your project (For example: Java, Node)
-
Change project settings: Going to the “Settings” menu (the last tab after Wiki and Insights), you can set several options for your project. The more useful options are:
- Project name (in Options/Settings)
- Collaborators: You can add collaborators, searching by his GitHub user name, or profile name. These users can modify your repository directly. They don’t need to fork your project.
- Making branches: You can create development branches (independent repositories based on your
masterrepository) to add and test some features, without interfering or modifying the master repository. Also you can create branches using the Git Client. - Github pages (in Options/Github pages) to setup a project page using your
.mdor.htmlfiles in the root of your repository, or adocsfolder (https://your-username.github.io/your-project-name) - Delete project (in Options/Danger Zone) If you want to delete the project, you need to write the name of your repository and press the red button. It cannot be undone later.